Pages

Sunday, July 14, 2013

Be Keen on Quinoa: Tex Mex Quinoa

I tried to eat quinoa long before it became trendy. In fact, I even purchased it by the four-pound bag from Costco. Unfortunately, through improper preparation, I was just left with a bad first impression and too much quinoa without any use for it. So, I toasted it up, made it into a flour, incorporated that quinoa flour into my usual pumpkin muffin recipe, and realized the muffins were overly dense and almost inedible. Fast forward six years, I'm suddenly head-over-heels in love with this ancient whole grain. How, you ask? Three words: Tex Mex Quinoa. Forget Chipotle's cilantro rice with all the regular burrito bowl fixins. This side dish, along with your favorite lean protein, is perfectly satisfying and healthy to boot!

This is a recipe a dear friend adopted (unknown source) that I've tweaked to my liking. It makes a very large amount; therefore, perfect for portioning throughout the week or for a big gathering/potluck. I hope you enjoy it as much as I do!


Tex Mex Quinoa

Ingredients:

2 c organic quinoa, uncooked
4 c full-sodium chicken broth (or vegetable broth)
1 29-oz can black beans, drained
1 15-oz can sweet corn, drained
 medium red onion, diced small
1 pt cherry tomatoes, halved
1 batch cilantro, minced
 Salt and pepper, to taste
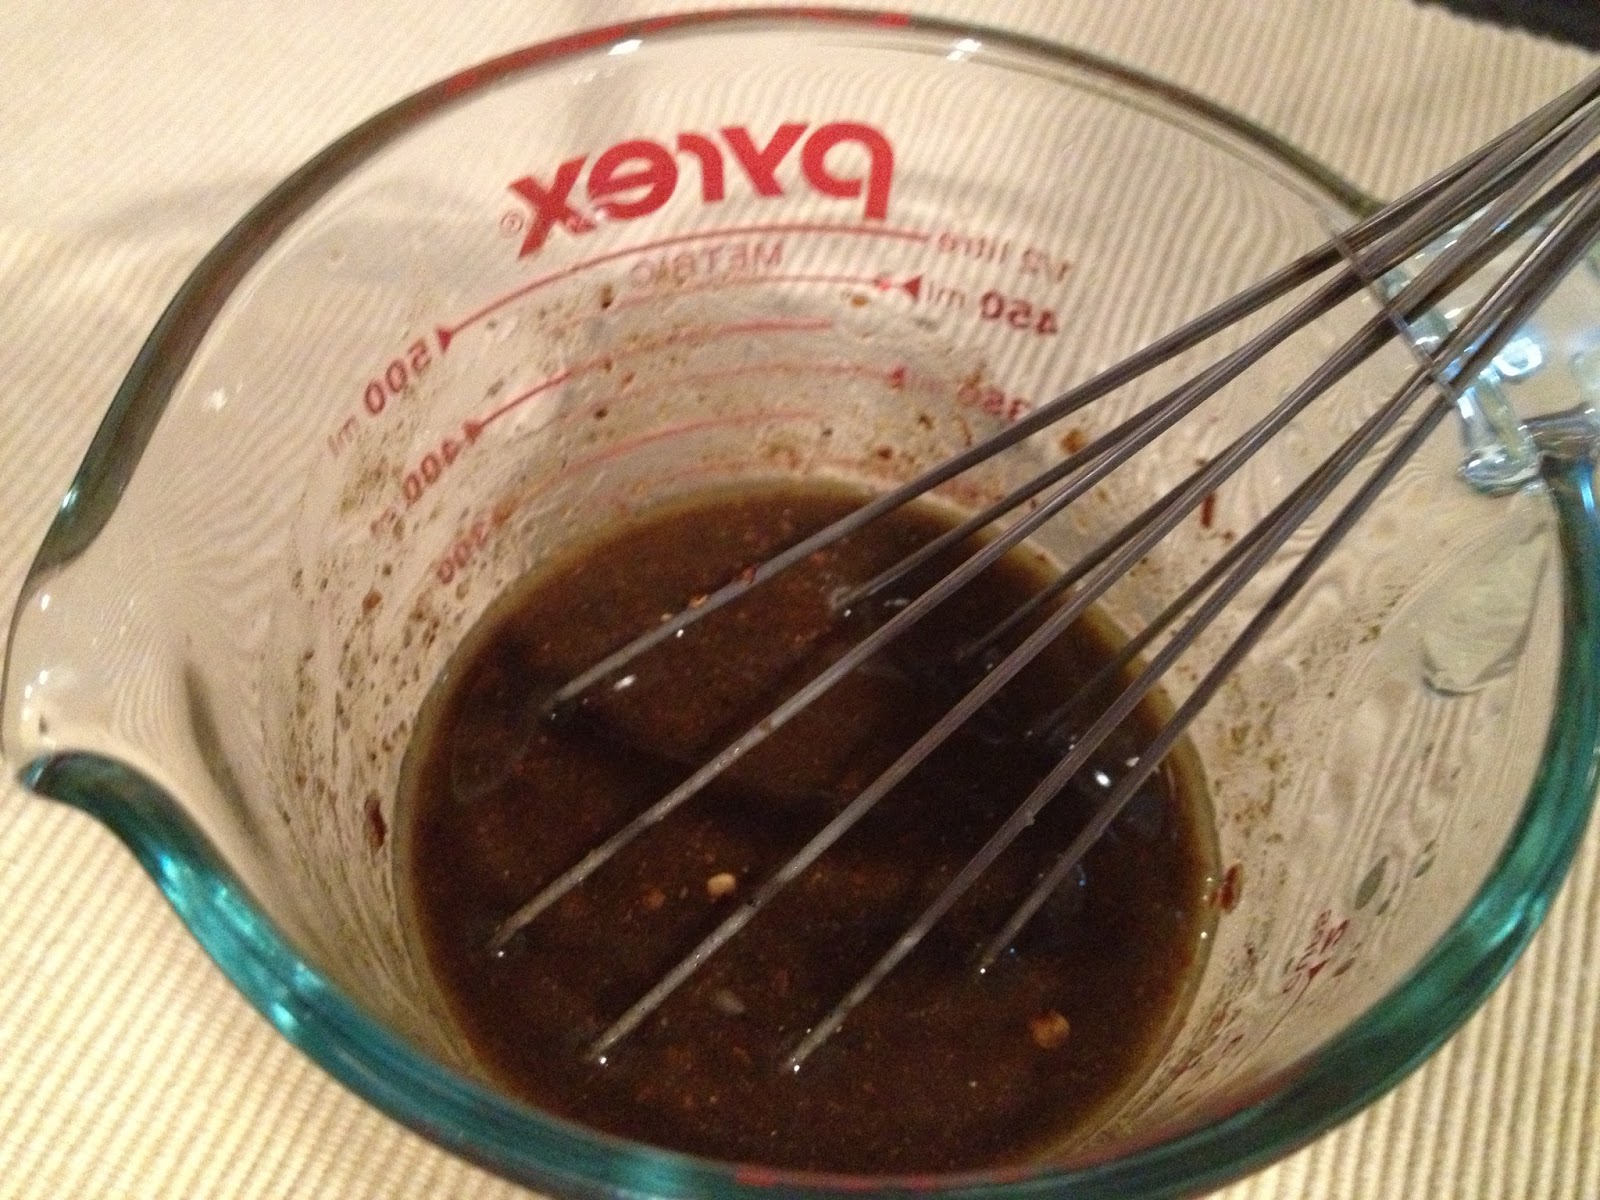
Vinaigrette

1/2 c extra virgin olive oil
4 t ground cumin
1.5 T crushed red pepper flakes
4 limes, juiced
Splash balsamic vinegar
1 t black pepper


Directions:

1. Rinse quinoa 3-5 times until water is clear. Drain using a mesh strainer.


2. In a large pot, combine quinoa and chicken broth on medium-high heat. Once it simmers, cover the pot, and lower heat. Cook for 10-12 minutes or until quinoa has fully absorbed all the broth. Set aside, uncovered, to cool down.


3. Prepare vinaigrette by whisking together all six ingredients. Set aside.


4. Combine quinoa with black beans, corn, tomatoes, and red onion.
5. Add vinaigrette and mix using a silicon spatula or tongs.
6. Add cilantro and mix again.
7. Add salt and pepper to taste. 
 

8. Serve immediately or cover and refrigerate overnight. This quinoa tastes even better the next day!


ENJOY!


Wednesday, June 26, 2013

Crispy Roast Pork (Thit Heo Quay)

I figured it'd be most appropriate to dedicate my first recipe post to the beloved pig -- more specifically, pork belly. So, while most of America loves it in the form of thin, crispy bacon, I love it in the form of "thit heo quay" (Vietnamese) or "siu yuk" (Cantonese), which is crispy roast pork. What's so great about this? Imagine juicy, tender meat and crackling skin all in one bite. Drooling yet? Let's get to it!

I used a recipe by Da Nang Cuisine's Helen Le as a guide and altered it to my liking. I discovered my large oven's single bulb is on the left side, so there was not even distribution of heat to create proper crackling of skin, so I later used my handy infrared toaster oven for that. It worked wonders! You can use a large, conventional oven for the entire process as long as there are evenly situated light bulbs which will shine directly on the skin. I have not tried using my infrared toaster oven for the entire process for fear the meat will dry out. Some people also poke holes into the skin with a paper cutter or fork to produce proper crackling, but I have yet to try that method. That will be the next project. 


Crispy Roast Pork

Ingredients:

Dry Rub

2 lb pork belly, lean (2 slabs)
1-1/2 tsp Chinese five spice powder
2 tsp granulated sugar
1/2 tsp salt
1/2 tsp ground black pepper 

Skin Marinade

3 tsp salt
3 tsp white vinegar

Directions:

1. Wash and pat-dry the pork belly slabs. Cut 1 cm deep x 2 cm thick slits to 1) allow flavor penetration of the dry rub and 2) make slicing the final product easier.
2. Apply the dry rub on all sides of the belly, including inside the slits, except for the skin. 
3. Thoroughly mix the salt and vinegar for the skin marinade. Brush it on the skin. 
4. Leave the slabs, skin side up and uncovered, in the fridge for at least 12 hours.
5. Pre-heat your oven to 400 degrees Fahrenheit.
6. Place the slabs, skin side down, onto a jelly roll pan/baking sheet lined with aluminum foil (no clean-up later!).
7. Bake for 20 minutes.
8. Remove the pan from oven, flip the pork over to reveal the skin, pat the skin dry, and brush on the salt/vinegar mixture. (I used my infrared oven at this step.) You will see bubbles form on the skin.
9. Bake the pork on the highest rack (closest to heat source) for 20 minutes.
10. Pat the skin dry, brush on the salt/vinegar mixture, and bake again for 20 minutes. If there are not enough bubbles after this step, repeat the steps again for an additional ten minutes as long as the skin is not yet burnt. 
11. Remove the slabs and, using a dry paper towel or brush, remove the excess salt from the skin. 
12. Skin side down, slice the pork where slits were made and again width-wise to your thickness preference.  


 My most favorite way to eat crispy roast pork is with steamed jasmine rice, fresh vegetables, and nuoc cham dipping sauce. Another favorite way of eating it is with banh hoi (steamed vermicelli noodles with scallion oil) and herbs. Or, you can simply stuff a baguette with the pork and drizzle on a little soy sauce or nuoc cham. However you eat it, it will surely be a fantastic meal!  Bon appetit!